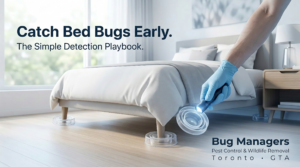
Bed bugs don’t surrender to panic. They surrender to a plan.
Panic scatters effort. A plan concentrates it. The roadmap below is practical, immediate, and repeatable—so you can identify the problem, act tonight, and know when to hand it off. Bug Managers built this sequence for homeowners across the GTA who want clarity and results.
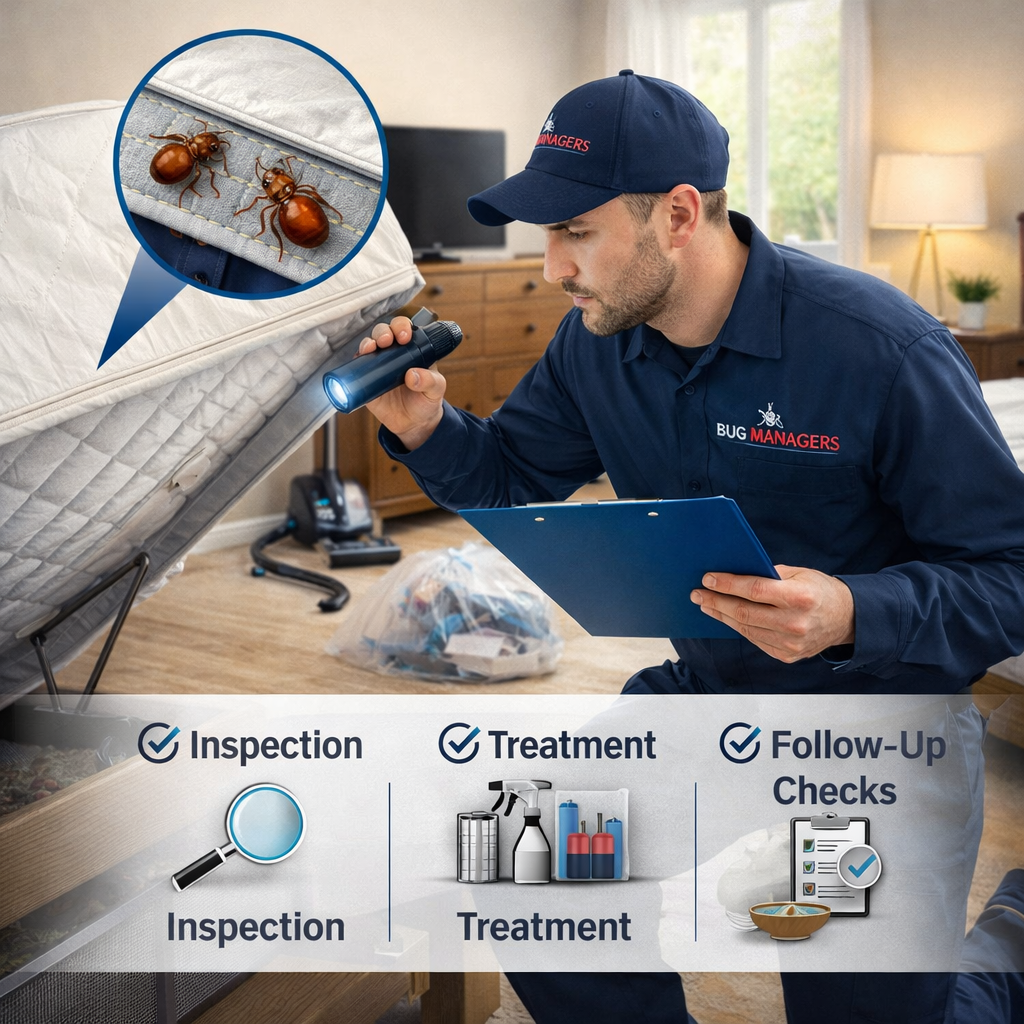
Spot the enemy: quick inspection and confirmation
Start with evidence, not assumption. Three signs you can trust: live bugs or shed skins and eggs, rusty or blood stains on bedding, and tiny black droppings along seams and edges. Bites often appear in clusters or short lines overnight, but bites alone are not confirmation.
Inspect the bed first, then move outward. Prioritize the mattress and box spring seams, headboard and bed frame joints, nightstands and bedside tables, baseboards, picture frames, electrical outlets and electronics, sofas, curtains and soft furniture.
Carry these tools: a bright flashlight, a magnifier, a screwdriver (to remove outlet plates), a HEPA vacuum, and clear tape or disposable cards for scraping samples. Look carefully; bed bugs hide in tiny gaps.
If you find live bugs or repeated signs, start the control plan tonight.
A practical, step‑by‑step control plan you can start tonight
This is execution. Do these steps in order. Short, decisive actions beat scattered attempts.
- Confirm and isolate. Put a zippered encasement on the mattress and box spring. Move the bed a few inches from the wall. Avoid shifting clutter to other rooms. Seal loose clothing and linens in plastic bags.
- Vacuum purposefully. Use a HEPA vacuum. Work seams, tufts, crevices, screw housings and joints. After vacuuming, seal the bag or empty the canister into a sealed plastic bag and put it outside.
- Steam where you can. Use a commercial or rental dry steamer that produces high heat. Hold the nozzle slowly over each seam, crease and joint for about 30 seconds per spot. Steam kills on contact when applied properly. Watch for fabric damage and burn risk.
- Launder fabrics. Wash infested bedding, clothing and washable curtains at 120°F (49°C) or hotter. Dry on high for 30–90 minutes. Keep laundered items sealed until you reassemble the room.
- Targeted treatments. Use labeled desiccant dusts in voids and crack‑and‑crevice residuals per product directions. Expect reduced performance from some older pyrethroid products where resistance exists. Avoid broad surface spraying as a lone strategy.
- Protect and monitor. Installmattress and box‑spring encasementsand leg interceptors. Place passive monitors near the bed and check weekly.
- Repeat and reassess. Eggs hatch in about 6–10 days. Revisit the same protocol weekly for at least 3–6 weeks. If live bugs persist after two rigorous cycles, escalate to professional help.
Prepping checklist for a professional visit or heat treatment
- Laundered linens sealed in bags
- Clutter cleared and pathways accessible
- Electronics unplugged and heat‑sensitive items removed
- Plants, pets, medications safely relocated
- Small loose items sealed in plastic
What works (and why): vacuum, steam, heat, laundering, pesticides
Each tool has a role. None is a silver bullet. Use them together.
Vacuum. It physically removes adults, nymphs and eggs from accessible surfaces. Essential. Not complete by itself. Always follow with proper disposal of the vacuum contents.
Steam. High‑temperature steam kills on contact. It is excellent for seams, upholstery and cracks when applied slowly and directly. It leaves no chemical residue. It can miss deep voids and risks fabric damage if used improperly.
Heat. Whole‑room or whole‑structure heat, when done by professionals and maintained uniformly (roughly 118–140°F), kills all life stages, including eggs. It’s ideal for severe or widespread infestations but requires expert monitoring and preparation.
Laundering. Hot wash and hot dry reliably kill bugs in textiles. It is simple, effective and should be routine for infested fabrics.
Pesticides. There are several classes—pyrethroids, desiccants (diatomaceous earth), chlorfenapyr, and insect growth regulators among them. Use only registered products and follow labels precisely. Resistance exists for some chemistries; that’s why targeted applications within an integrated strategy work better than spraying everything.
Rule: no single tool. A layered plan wins.
Safety first: children, pets, flammables, and legal limits
Safety is not negotiable. Read every product label. Use only registered treatments or methods approved in your country.
Keep children and pets away during applications and until treated surfaces are dry. Remove fish tanks and small animals for whole‑house heat. Use desiccant dusts only inside cracks and voids to limit inhalation. Never apply outdoor pesticides indoors. Never use rubbing alcohol as a treatment—flammable and dangerous.
Steam and heat can burn people and damage electronics. Remove heat‑sensitive items before large‑scale heating. If you feel uncertain at any step, stop and call a licensed technician.
When DIY fails: how and why to call a pro (and what Bug Managers does)
Call a professional when the infestation spans multiple rooms, live bugs persist after disciplined DIY, there are vulnerable household members, or you live in multi‑unit housing where reinfestation risk is high. Suspected chemical resistance is also a reason to get help.
Professionals provide these things: a licensed inspection (visual and, where used, canine detection), a tailored treatment plan that may combine targeted residuals, desiccant placement and whole‑room heat, pest‑proofing and exclusion to stop re‑entry, and scheduled follow‑ups with monitoring and warranty coverage.
Expect follow‑up visits over several weeks. Chemical-only visits are lower cost but may need repeat treatments ($100–$500 per session). Multi‑visit programs run higher over time. Whole‑house heat is the costly, quick option (commonly in the low thousands) but can deliver an immediate, comprehensive kill when executed properly.
Bug Managers sends licensed, insured technicians across the GTA with eco‑friendly and humane options, same‑day service in many neighborhoods (including Milton), and pest‑proofing for long‑term protection. Ask any company before you hire about license and insurance, the chemicals or methods planned, your prep requirements, warranty length, and the follow‑up schedule (learn more on our About page). After service you’ll receive confirmation—see our Thank You page.
Aftercare and prevention: harden the home against a return
Eviction lasts only if you make re‑entry hard. Install mattress and box‑spring encasements and interceptors on bed legs. Seal cracks and gaps around baseboards, door frames and utility penetrations. Keep clutter low and store seldom‑used textiles in sealed bins. Inspect any secondhand furniture before bringing it inside.
On the road, inspect hotel beds, keep luggage off floors and wash clothes after travel. Check interceptors weekly for a month, then monthly for 3–6 months.
Quick myths busted
- Foggers alone rarely reach hiding spots and are not a cure.
- Rubbing alcohol is a fire risk—don’t use it.
- Burning or indiscriminately tossing furniture is drastic and often unnecessary; consult a pro first.
Conclusion
Eviction is a plan, not a prayer. Follow the steps, monitor the house, and call a licensed technician when the plan meets resistance. If you need help across the GTA, Bug Managers’ licensed and insured team is ready to inspect, treat and pest‑proof your home.