Intro
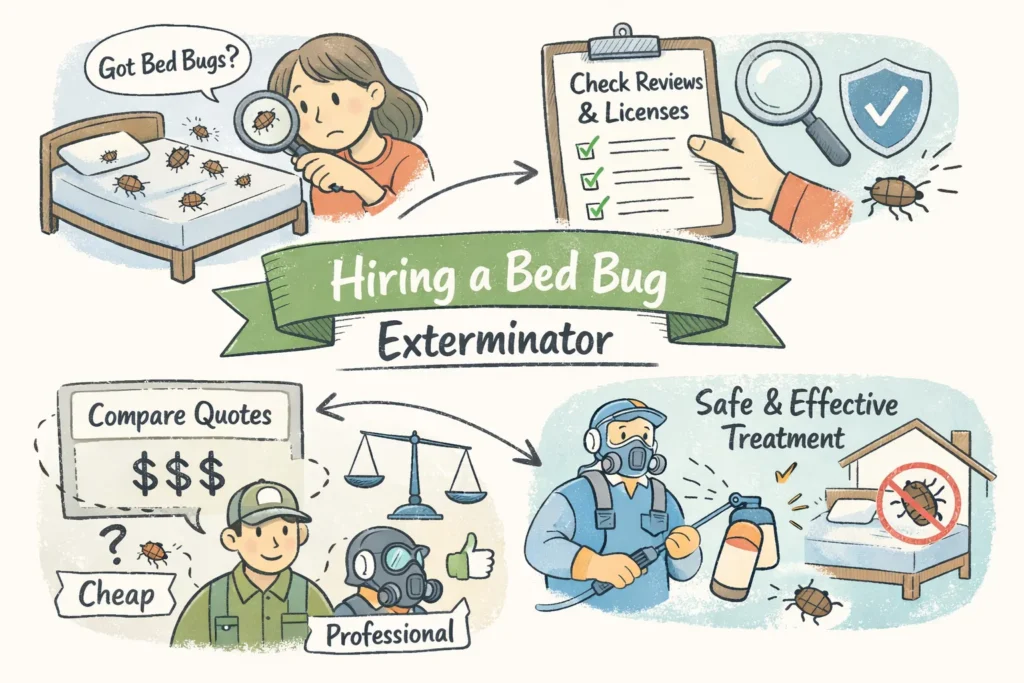
Bed bugs are more than just a nuisance—they can disrupt sleep, cause stress, and quickly spread throughout your home. Knowing how to tackle them effectively separates short-term fixes from lasting solutions. In this guide, you’ll discover what a successful treatment looks like, how experts develop the right strategy, and the questions that reveal true competence. With years of experience handling both minor infestations and severe cases, Bug Managers shows you the proven path to a pest-free home. Read on to hire with confidence.
Be clear about the goal: what “fixed” really looks like
Success is measurable. Not slogans. Not promises. No live bugs. No shed skins or fresh bite reports. And a documented negative follow‑up inspection—visual or K9—within the warranty window. That’s the outcome you should buy.
Why the timeline matters: bed bugs reproduce quickly and hide deeply. One visit rarely guarantees long‑term elimination unless it’s a properly executed whole‑home heat treatment. Expect a realistic program to include confirmation checks and re‑treatments inside a 60–180 day window. Integrated plans often schedule inspections at set intervals; that matters more than a single “we’ll solve it” line.
Example approach: a professional metric‑driven plan combines inspection, targeted treatment (or heat), physical exclusion (encasements, interceptors), and a clear warranty. That’s the model Bug Managers uses: licensed inspections, eco‑friendly options where possible, exclusion work, and documented follow‑ups—no guesswork.
Treatment choices explained — what works, what’s risky, and when to pick each
Pick methods by biology and living situation, not price alone. Here’s what professionals actually choose and why.
Heat treatment
How it works: raise temperatures above ~120°F for enough time to kill all life stages. Where it excels: whole‑unit eradication, chemical‑free, immediate results. Limits: expensive, sensitive to heat sinks, and some valuables may be damaged if not protected. Site time: usually 6–12 hours for a whole home. Realistic expectation: high success when done correctly; often a one‑session solution. Typical cost band: $800–$3,000 depending on size and access.
Chemical residuals (professional sprays)
How it works: targeted residual insecticides in cracks, seams and hiding spots. Where it excels: localized infestations, lower upfront cost. Limits: may require multiple visits, resistance issues, and no single chemical is a silver bullet. Site time: 2–4 hours per visit. Realistic expectation: good reduction; better when combined with non‑chemical measures. Typical cost: $300–$1,500.
Fumigation (tenting)
How it works: whole‑unit treatment with gas. Where it excels: severe, widespread infestations in single structures. Limits: highly disruptive, expensive, requires full evacuation for days. Typical cost: $4,000+ and significant logistics.
Steam and cryonite (spot treatments)
How it works: contact heat or freezing applied to seams and mattresses. Where it excels: mattresses, box springs, and visible seams; chemical‑free. Limits: not practical as a whole‑home cure; best used as supplements. Expect them to be part of an IPM plan rather than a standalone cure.
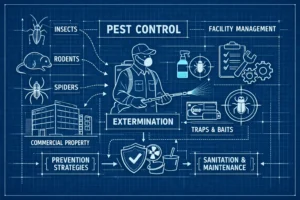
Integrated Pest Management (IPM)
How it works: combine inspection, vacuuming, encasements, interceptors, targeted chemicals or heat, and scheduled checks. Where it excels: highest practical success, especially in multi‑unit housing. IPM is the strategy professionals recommend when eradication and prevention both matter.
Detection note: K9 inspections
Dogs can inspect rooms fast and may be cost‑effective for early or ambiguous cases. Expect fees in the $200–$600 range in the GTA. Accuracy claims vary widely; use certified teams and treat K9 results as one piece of evidence—excellent for confirmation before committing to a large heat job. For background on canine inspection costs and value, see this discussion of canine bed bug inspections.
Match the method to your space. Studios and single rooms often suit heat or focused chemical + IPM. Multi‑unit buildings need coordination and IPM. Luxury homes and sensitive contents demand planning and possibly targeted chemical + exclusion to protect valuables.
Money talk: realistic price ranges, extras, and how to compare quotes
Low sticker price is the start of a conversation, not the finish. Here are realistic bands to expect:
- Chemical treatments: $300–$1,500 (per job or per room).
- Heat treatments: $800–$3,000 (whole‑home, size dependent).
- Fumigation: $4,000+ (whole‑building scenarios).
- IPM packages: $1,200–$4,000 for comprehensive plans.
- K9 inspections: $200–$600.
Watch for extras that inflate quotes: mattress encasements, laundering services, disposal fees, travel surcharges, multi‑unit coordination, and paid warranty extensions. Hidden costs often appear as “follow‑up visits not included.”
How to compare quotes: insist on an itemized bid that lists number of visits, materials included, inspection type (visual or K9), and the exact warranty terms. Prefer whole‑unit flat pricing for bed bugs rather than vague per‑room math that hides trips. Payment rules: don’t hand over full payment up front; use a traceable method (card) and confirm refund/cancellation terms.
Warranties, guarantees, and the clauses that matter
The warranty is your protection. Read the fine print.
Common structures: free re‑treatment windows typically run 60 days to 6 months. Longer guarantees often require ongoing preventative services or scheduled inspections. Conditions and exclusions are normal: full‑home treatment required, customer prep obligations, and exclusions for re‑introduction from visitors or neighboring units.
Insist on written terms that specify duration, number of included re‑treatments, what triggers a free re‑treatment (live bugs confirmed vs bite complaints), and customer responsibilities to keep the warranty valid. Red flags: verbal guarantees, “lifetime” claims with no terms, or pressure to waive clauses. Green flags: a clear written guarantee, documented before/after inspection, and proof of licensing and insurance.
Suggested warranty language to request: “If live bed bugs are confirmed inside the covered area within [X days], we will re‑treat at no additional charge, provided the customer complied with preparatory steps.” Put X as whatever the company offers—60, 90, or 180 days—and make sure the preparatory checklist is attached.
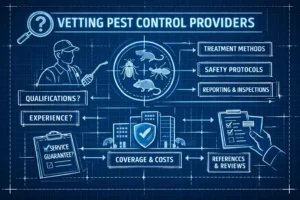
Seven questions to ask every professional — and the answers you want
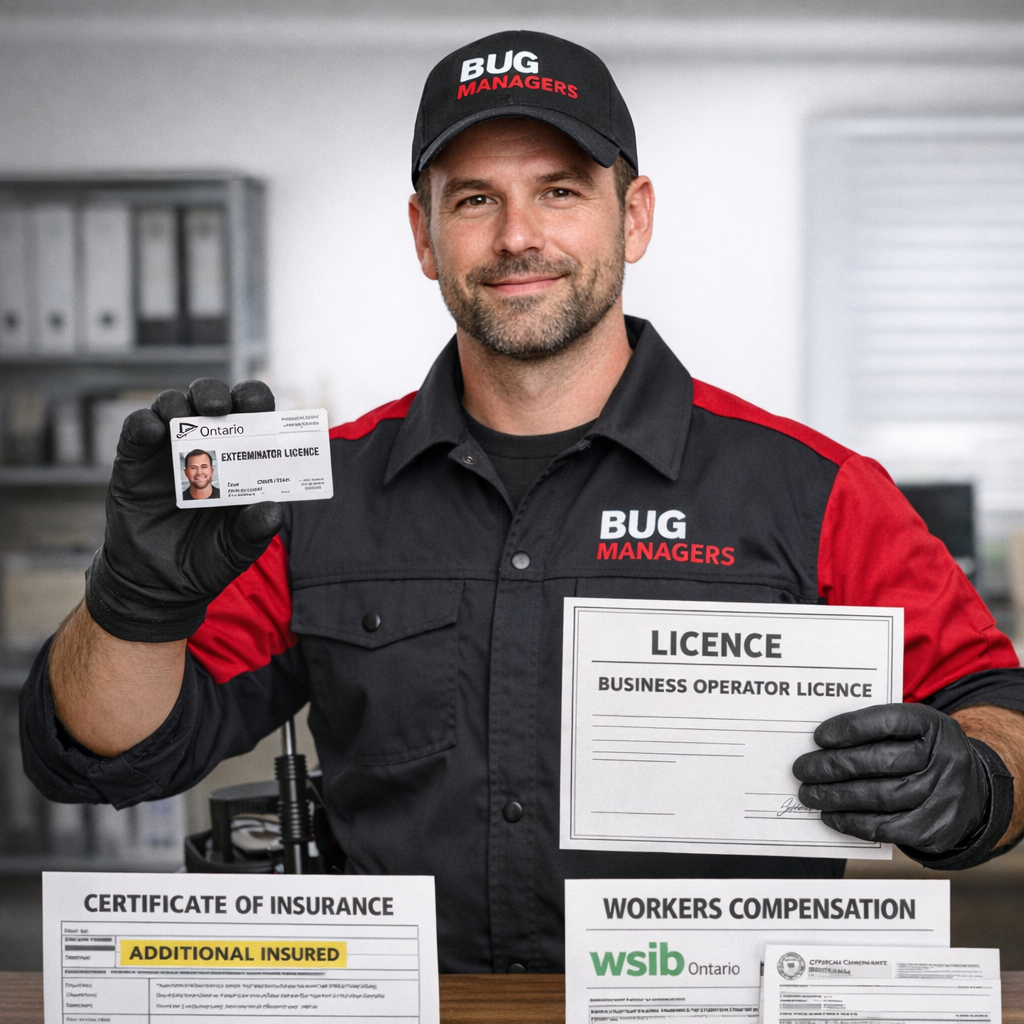
Are you licensed and insured?
Why ask: protects you legally and shows professionalism. Good answer: provides license number and insurer with certificates on request. Bad answer: evasive or refuses documentation.
What exact method will you use and why for my space?
Why ask: reveals one‑size‑fits‑all vs tailored plans. Good: explains method choice, alternatives, and IPM. Bad: insists the same cheap method always works.
Do you include an inspection (visual or K9) before and after treatment and is that cost included?
Why ask: scope and confirmation matter. Good: inspection included or offered as an add‑on with price and a report. Bad: no inspection or vague claims.
What is included in the price (visits, encasements, laundry, follow‑up)?
Why ask: avoids surprise charges. Good: itemized list with exact visit counts. Bad: “depends” or “we’ll see.”
What is your warranty—how long and what does it cover?
Why ask: protects future costs. Good: clear written warranty, triggers for re‑treatment, and customer obligations. Bad: boasts without details.
How should I prepare my home and what will I need to do afterward?
Why ask: your prep materially affects success. Good: provides a concise checklist. Bad: “you don’t need to do anything.”
Can you provide references or jobs like mine?
Why ask: verifies experience, especially for multi‑unit or luxury properties. Good: local references and case examples. Bad: none or only anonymous claims.
Negotiation tip: get these answers in writing, compare at least two quotes, and confirm scheduling windows. Availability matters; a delayed treatment can allow the infestation to grow. Also, get these answers in writing so you can compare vendors side‑by‑side.
Day‑of and follow‑up checklist: preparation, timeline, and when to call back
The day you act is the day you win or lose control. Follow this compact checklist.
- Before treatment: launder bedding/clothing on hot and high dry; seal cleaned items in new plastic bags; declutter to expose hiding spots; vacuum and discard bag; remove pets, plants, and fish tanks; unplug sensitive electronics and identify heat‑sensitive valuables for tech discussion.
- On the day: confirm expected on‑site time and vacate plan (heat: many hours; chemicals: shorter but may require re‑entry limits); get written confirmation of the treatment scope before work starts.
- After treatment: obey re‑entry instructions, avoid moving items back into treated zones until advised, install mattress encasements and interceptors, and schedule the first follow‑up inspection (30–60 days recommended).
Call the company immediately if you see live bugs after treatment, have persistent bite reports after a reasonable interval, or neighboring units report infestations—multi‑unit coordination is often required.
Closing nudge and next step
This is not a DIY fight. The right pro, the right questions, and basic prep win the day. Two clear outcomes matter: documented elimination and a warranty that actually protects you.
If you’re in the GTA and want a licensed, eco‑friendly inspection with a documented plan and follow‑up, request a certified inspection or a quote from Professional Pest and Wildlife Removal Services | Bug Managers. Compare the written bids, insist on a clear warranty, and schedule the first follow‑up inspection 30–60 days out.