Intro
Exterior ant control doesn’t need theatrics—it needs a safe, pet-friendly outdoor ant control plan that targets ant nests, removes attractants, and builds a protective perimeter to stop ants from returning. Effective exterior ant treatment focuses on long-term ant prevention, not just quick fixes.
At Bug Managers, we see the same yard and foundation ant problems across homes in Toronto, Mississauga, Brampton, and across the Greater Toronto Area. This guide explains what actually works for exterior ant control, including nest targeting, perimeter protection, and safe pest control methods used in real homes.
Know the enemy: common outdoor ants and why species matters
Pavement ants are small, brown, and often nest under sidewalks or pavers. Look for tiny soil mounds and steady trails along concrete edges.
Odorous house ants are dark and small. Crush one gently; a rotten coconut smell is a giveaway. They nest in shallow soil, mulch and sometimes wall voids.
Carpenter ants are large (noticeably bigger than the others) and usually black or red-black. They don’t eat wood but excavate it—look for sawdust-like frass near damp wood.
Food preference matters. Some ants chase sweets. Others prefer protein or grease. That decides your bait choice. Colony structure matters too. Multi-queen species and satellite nests survive quick fixes. Carpenter ants nesting in wood need inspection of the structure, not just bait.
Takeaway: identify the species first. Then treat the colony’s taste and home, not the individual workers you see marching across the patio.
Exterior Ant Control – Finding Nests and Trails Safely
Watch ants when they’re active. Mid-morning to late afternoon on warm days is usually best. Follow several workers back. Trails zig and curve; follow the pattern, not a single ant.
Likely spots: under pavers and rocks, inside mulch or leaf litter, along the foundation, under logs and pallets, near aphid-infested plants, and for carpenter ants — inside damp wood and wall voids. Winged swarmers mean a reproductive colony nearby. For more detailed species notes you can read useful background on the odorous house ant.
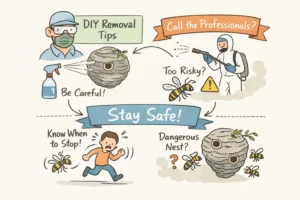
Safety rules are simple. Don’t spray or stomp trails. You only scatter ants and confuse baiting. Don’t pour unknown chemicals into structural voids — you can make a bigger, hidden problem. If trails enter walls or you suspect nesting in framing, stop and call a pro.
Field tip: take a close photo. A picture sharpens ID and speeds help from a technician.
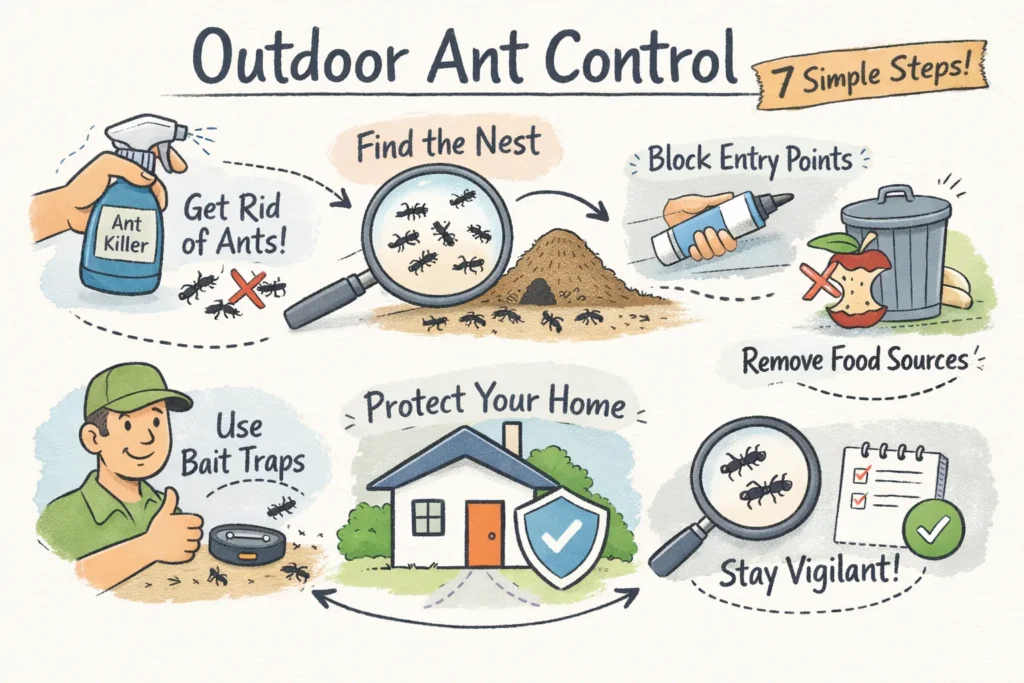
The no-nonsense 7-step outdoor ant control plan (pet- and pollinator-safe)
Short approach: bait smart, remove attractants, treat visible nests carefully, and proof the perimeter. Follow the sequence; each step supports the next.
- ID and taste. Use one or two clues and a photo. Are they small and sought-by-sweets? Large and wood-associated? That tells you whether to use sugar-based gel/liquid baits or granular protein baits.
- Remove attractants. Secure lids, pick up fallen fruit, bring pet food inside, tidy compost and garbage, and hose off honeydew on plants. No free buffet means ants focus on the bait.
- Erase trails carefully. Wipe obvious trails with a mild citrus cleaner only if you plan to put out bait right after. Don’t spray insecticide over areas where you’ll place bait — repellents defeat baiting.
- Place the right bait in tamper-resistant stations. Match sugar baits to sweet-eating ants and protein/granular baits to grease/protein feeders. Put stations along trails, near nest openings, and out of pets’ reach.
- Treat visible mounds safely. Small mounds can be drenched with boiling water or dusted with diatomaceous earth/silica where appropriate. Always pair mound treatment with baiting so the queen is hit.
- Set a perimeter and exclude. Remove mulch from the foundation, create a 12–24″ rock or gravel strip, seal obvious entry points, and trim vegetation so no branches touch siding.
- Monitor and maintain. Check stations weekly. Expect the bait to work in 3–21 days. Refill or replace after rain. If activity persists after consistent, correct effort, escalate to a professional — for example, contact localpest control in Caledonor your area provider.
Realistic “done”: no fresh trails for ten days, no winged swarmers, and no new mounds in the treated area.
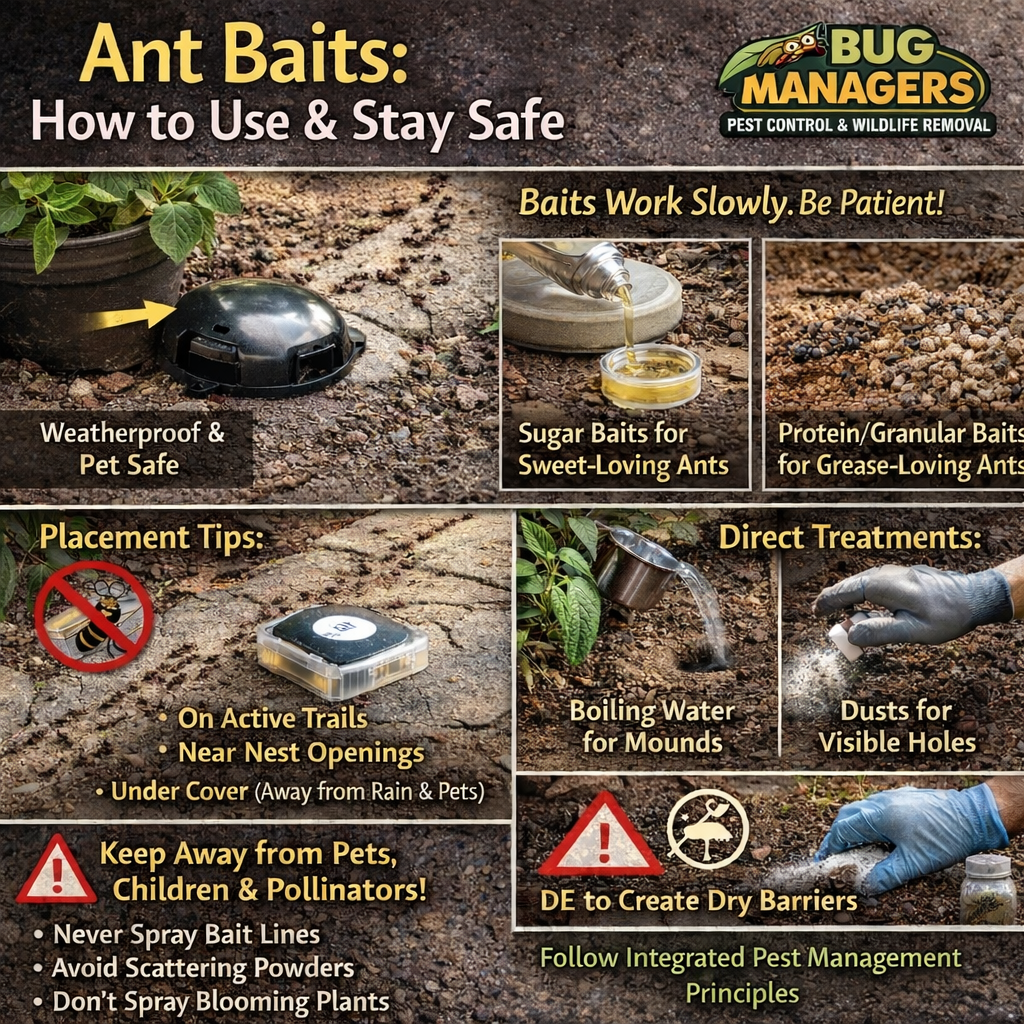
Which baits, stations and treatments to use — and how to apply them safely
Baits work because foragers carry slow-acting poison back to the nest. That’s the whole point. Be patient.
Use liquid or gel sugar baits for sweet-preferring ants. Use granular or protein baits for grease-/protein-preferring ants and larger species. Block-style or enclosed weatherproof stations keep bait effective and away from pets and pollinators.
Placement rules: on active trails, near nest openings, and beneath cover (under a pot base or a flipped saucer) to protect from rain. Keep bait stations off flowering plants and away from pollinator flight paths.
Direct treatments when visible: boiling water for small surface mounds; insecticidal dusts into obvious holes if you have gloves and follow the product label; safely use diatomaceous earth as a dry barrier applied on dry days and reapplied after rain.
What not to do: don’t spray a residual insecticide over bait lines — it repels. Don’t scatter powders in play areas. Avoid spraying blooming plants; protect pollinators. Remember: essential oils and repellents can deter ants but rarely eliminate the colony on their own. Where possible follow integrated pest management principles to reduce unnecessary chemical exposure and focus on exclusion and sanitation (integrated pest management).
Perimeter proofing and landscaping that actually reduces ant pressure
Replace wood mulch with a rock or gravel strip next to the foundation. Store firewood off the ground and away from the house. Trim shrubs and branches so they sit at least 18″ from siding. Reduce overwatering and control aphids that make honeydew for ants.
Simple barriers work: a maintained gravel strip, diatomaceous earth lines in dry areas, and sticky bands on tree trunks where appropriate. These make nesting and trail routes less attractive.
Seasonal schedule homeowners can follow: late winter — clear and prep perimeters; spring — trim, plant low-attractant beds, and place bait stations if you expect activity; summer — monitor weekly and refresh baits; fall — clean up and remove potential winter nesting spots.
Prevention is the long game. Do the exclusion work once, and you reduce treatments later.
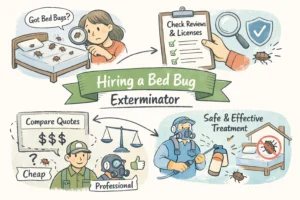
When to stop DIY and call a pro — what Bug Managers will do differently
Call for help when ants nest in walls or structural wood (carpenter ants), when you find multiple satellite nests, when reinfestations persist despite correct baiting, or when the ants sting and create a safety risk. Call if you don’t have the time or comfort to follow the steps safely.
A professional visit should include species ID, a full perimeter inspection, locating satellite nests, and targeted treatments — dusts into voids, professional-grade baits, and exclusion work. You should get a follow-up plan and a service guarantee; see our FAQ for common questions and expectations. For research on health and safety considerations related to pest control strategies, see this peer-reviewed review.
Why call Bug Managers: licensed technicians, eco-friendly options, free quotes and inspections in the GTA, fast emergency response, and a simple maintenance plan to prevent returns. We give a clear, pet-safe plan and stand behind the result. For free quotes and to schedule an inspection, check our free quotes and inspections in the GTA.
Do the seven steps. If the ants win, call someone who guarantees the job.
Quick checklist and next step
ID the species; remove attractants; place bait stations; treat visible mounds; proof the perimeter; monitor for three weeks.
If you want help or a free inspection, Bug Managers will come by, find nests and give a clear, pet-safe plan.